Authentication
In this section, we’ll set up authentication for your extension, enabling both Google Sign-In and email/password authentication.
🔥 Using Firebase
Set Up Firebase Authentication
- Go to Firebase Console and create a new project (or use your existing project).
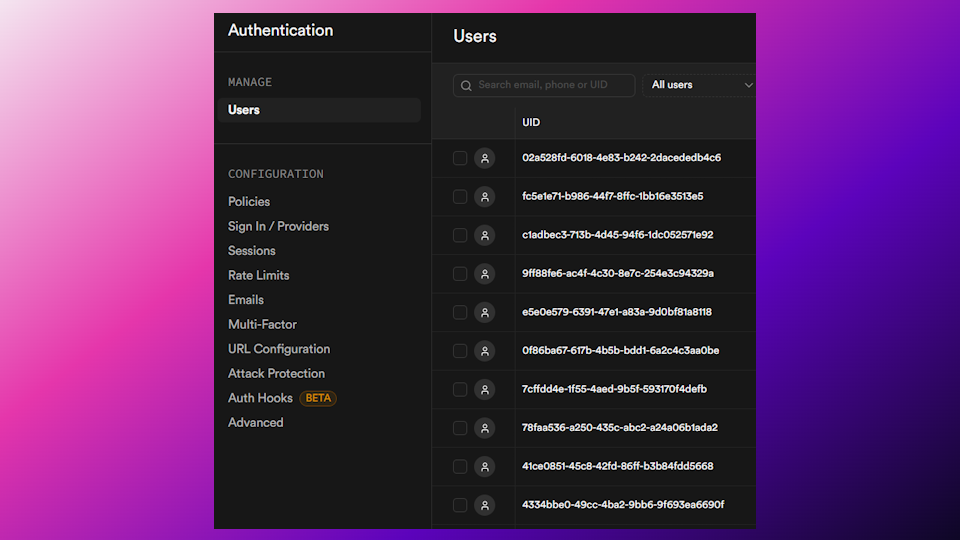
- In the Firebase Console, go to Build > Authentication.
- Click on Get Started to enable Firebase Authentication for your project.

Enable Google Sign-In in Firebase
- Go to the Google Cloud Console .
- Create a new project (or select an existing one).
- In the sidebar, go to APIs & Services > Credentials.
- Click on Create Credentials and select OAuth Client IDs.
- In the Application type, select Web application and name it (e.g., “Google Sign-In for Firebase”).
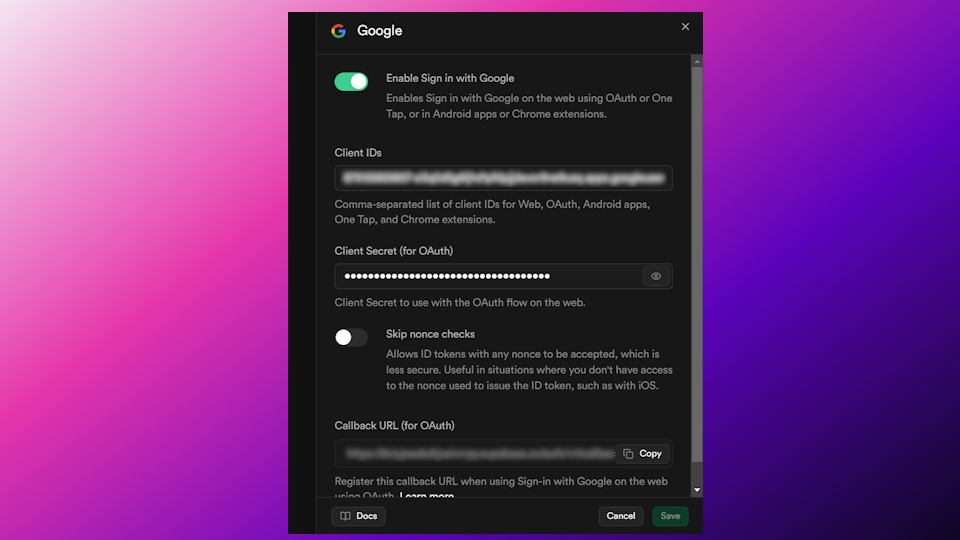
- Click Create to generate your OAuth 2.0 Client ID and Client Secret.
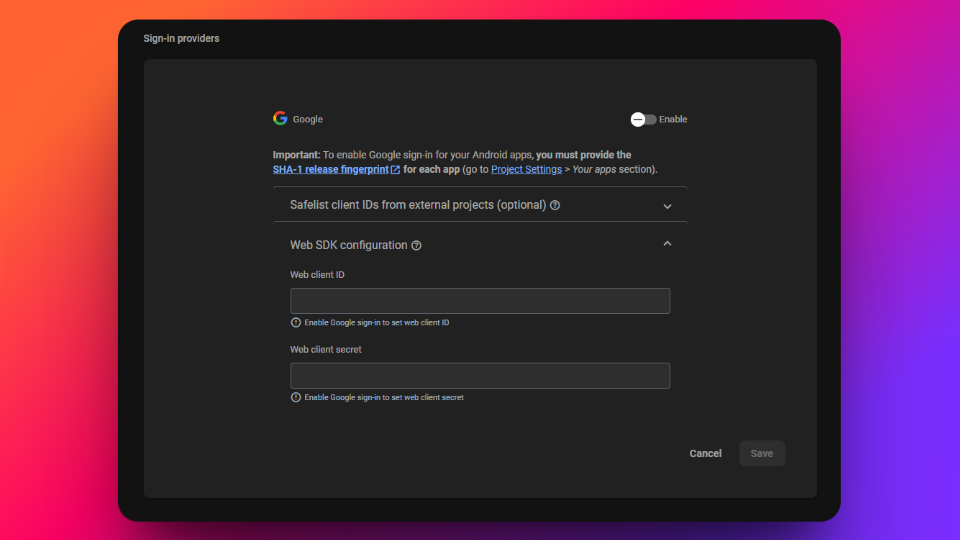
- In the Firebase Console, go to Authentication > Sign-in method.
- Click Google and enable it.
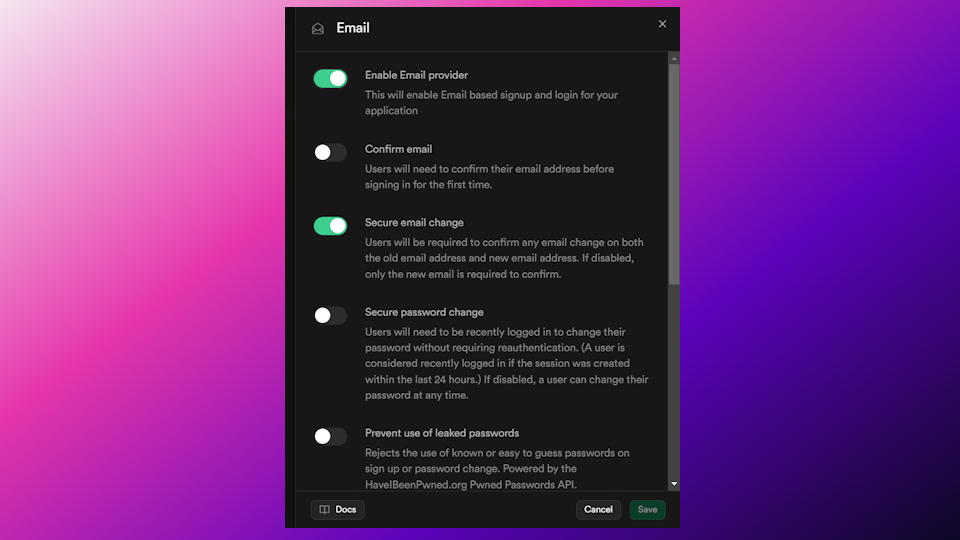
Enable Email/Password Authentication
- In the Firebase Console, go to Authentication > Sign-in method.
- Enable Email/Password authentication by toggling the switch.
- Save the changes.
This will allow users to sign up and log in using their email and password.

That’s it, you now enabled authentication inside of Firebase!
Additional Resources
- Firestore documentation – For more documentation from Firebase
Last updated on