🍀 Payments with Supabase
🧪 Stripe Test Mode vs. Live Mode
Stripe provides both a Test Mode and a Live Mode.
- Test Mode: This allows you to simulate payments and webhook events without using real money. It’s crucial for development and testing your integration thoroughly. You’ll use separate test API keys and webhook secrets for this mode.
- Live Mode: This is when you’re ready to accept real payments from your users. You’ll switch to your live API keys and webhook secret.
It’s highly recommended to do all your initial setup and testing using Stripe’s Test Mode before switching to Live Mode. This will help you identify and fix any issues without affecting real customers.
You can toggle between Test and Live modes in your Stripe dashboard using the switch in the top left corner.
1. Stripe Setup
First, create a Stripe account at https://stripe.com .
Once you’re in:
Navigate to the Product Catalog
Once inside your Stripe dashboard or Stripe test dashboard, you can navigate to your Product Catalog on the left-hand sidebar
Create a product
This is what users will pay for (like “Extension - Basic” and/or ”Extension - Advanced”).
Create a price for your product
By navigating inside your product, you now have the ability to create a price with the ’+’ sign next to “Pricing”.
This defines how much and how often users will pay (one-time or recurring). Make sure to note the price_id of this price (By clicking on the price after created and scrolling down), you will need it in your application to initiate the checkout.
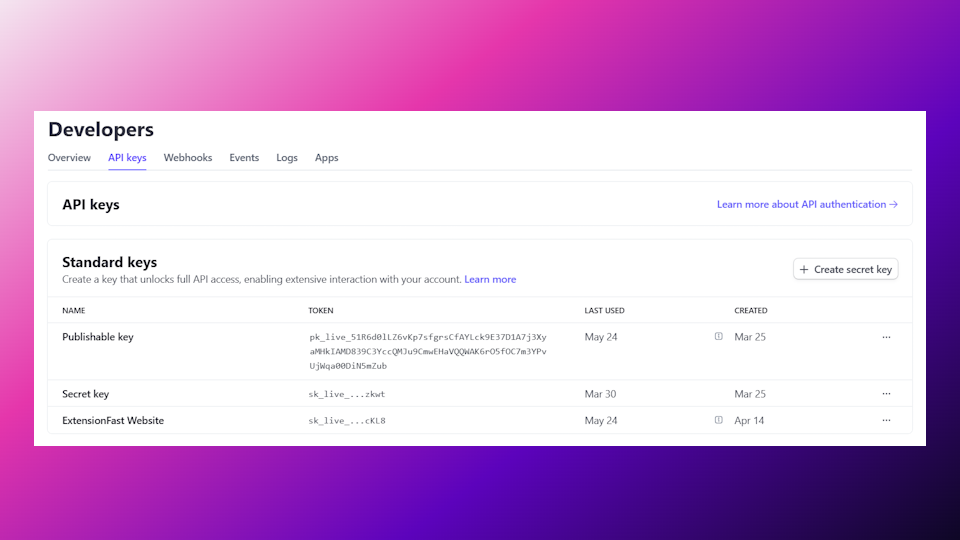
Grab your API key
Go to the Developers > API keys or Developers > API keys (Test) section.
Copy the key
Copy your Secret key — you’ll need this for Supabase.
2. Supabase Setup
Create a Supabase Project (if you haven’t already)
- Go to Supabase and create a new project (or use your existing project).
- Fill out your project name and database password (Make it a password you’ll remember).
- Click “Create new project”.
Navigate to Edge Functions
- In the Supabase Console, go to the left-hand side and click on Edge Functions.
Enable Edge Functions — this runs backend code.
- Click on Deploy a new function.
- Select the Via Editor option.
- You will be presented with a basic
index.tsfile, replace the contents with this:
// Setup type definitions for built-in Supabase Runtime APIs
import "jsr:@supabase/functions-js/edge-runtime.d.ts";
import Stripe from 'npm:stripe@12.0.0';
import { createClient } from 'https://esm.sh/@supabase/supabase-js@2';
const stripe = new Stripe(Deno.env.get('STRIPE_API_KEY'), {
apiVersion: '2024-11-20'
});
const cryptoProvider = Stripe.createSubtleCryptoProvider();
// Init Supabase client
const supabase = createClient(Deno.env.get("SUPABASE_URL"), Deno.env.get("SUPABASE_SERVICE_ROLE_KEY"));
console.log('Stripe Webhook Function booted!');
Deno.serve(async (request)=>{
const signature = request.headers.get('Stripe-Signature');
const body = await request.text();
let receivedEvent;
try {
  receivedEvent = await stripe.webhooks.constructEventAsync(body, signature, Deno.env.get('STRIPE_WEBHOOK_SIGNING_SECRET'), undefined, cryptoProvider);
} catch (err) {
  return new Response(err.message, {
    status: 400
  });
}
console.log(`🔔 Event received: ${receivedEvent.id}`);
if (receivedEvent.type === 'checkout.session.completed') {
  const session = receivedEvent.data.object;
  const email = session.customer_details?.email;
  const name = session.customer_details?.name;
  const paid = session.payment_status === 'paid';
  if (email) {
    const { error } = await supabase.from('customers').upsert({
      email,
      name,
      paid
    }, {
      onConflict: 'email'
    });
    if (error) {
      console.error('Error saving customer:', error);
      return new Response('Database error', {
        status: 500
      });
    }
    console.log(`✅ Saved customer: ${email} | Paid: ${paid}`);
  }
}
return new Response(JSON.stringify({
  ok: true
}), {
  status: 200
});
});
- Click on Deploy function in the bottom-right.
After it’s deployed, Supabase will give you an Endpoint URL — copy this!
3. Create the Webhook in Stripe
Now go back to Stripe to let it talk to your Supabase backend.
Head Over to Stripe Webhooks
Go to the Developers > Webhooks or Developers > Webhooks (Test) section.
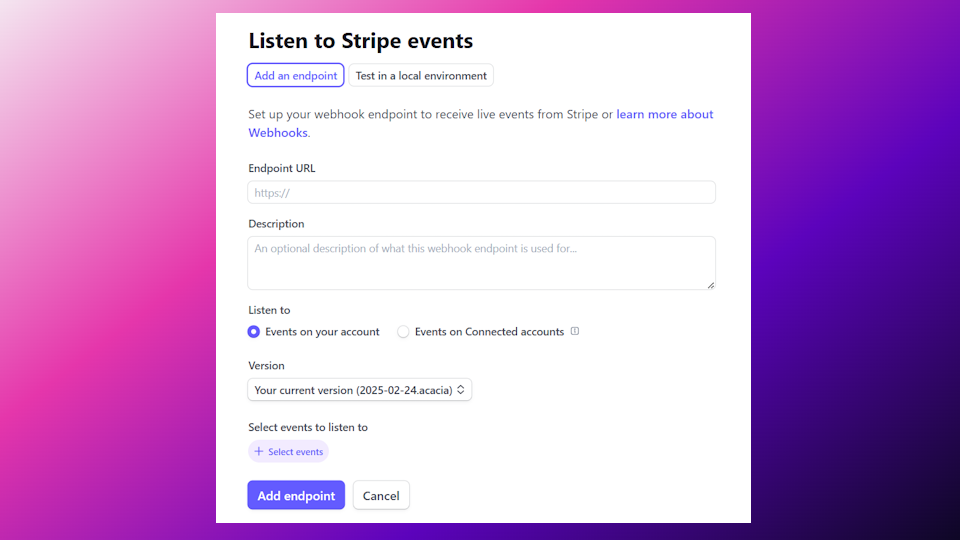
Creating a Webhook
- Click on Create an endpoint.
- Insert your endpoint URL you got from the Edge function.
- Towards the bottom, you’ll select your event and add checkout.session.completed.
- Save the event and add your endpoint.
- You’ll receive a webook secret/signing secret, make sure to copy this for the next step.
4. Add Webhook Secret to Supabase
Go back to Supabase:
Open the Supabase Edge Function
Head back to your Supabase Edge function.
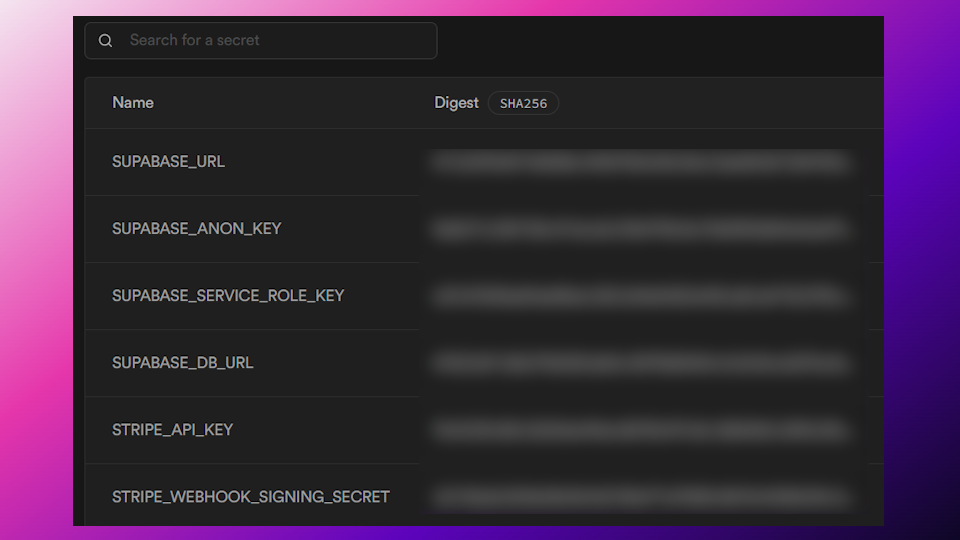
Navigate and Insert your secrets
- On the left-hand side, click on Secrets.
- Add these two keys:
- “STRIPE_API_KEY” with your own Stripe API key from earlier.
- “STRIPE_WEBHOOK_SIGNING_SECRET” with the webhook secret we just got.
- Save the new secrets.
Checkout Session Redirects
When a payment is successful or unsuccessful after initiating the Stripe checkout session, the user will be redirected to a success/unsuccesful screen, these are already set for your convenience:
- Success - https://extensionfast.com/extension/success
- Unsuccessful/Cancel - https://extensionfast.com/extension/cancel
If you would like to change these redirect screens to your own website, there are variables inside info.ts where you can place your own links.
That’s it! You now have a full payment pipeline that:
- Lets users pay with Stripe
- Uses Supabase Edge Functions to handle success/fail
- Stores one-time payment info in the database
✅ Recap Checklist
- Stripe account created
- Product added in Stripe
- Supabase project set up
- Supabase + Edge Functions enabled
- Webhook created in Stripe with Supabase URL
💬 Additional Resources
- Supabase documentation – For more documentation from Supabase
- Stripe documentation – For more documentation from Stripe